Vendor Badge
The Vendor Badges Add-on CS-Cart allows admins assign performance badges to sellers, display them on vendor profiles, and manage multiple badges easily. Fully integrated with CS-Cart Multi-Vendor.

The Vendor Badges Add-on for CS-Cart allows the admin to add badges for different sellers based on their performance. These badges appear on the seller’s profile page, helping buyers identify top-performing vendors while giving the admin full control to manage badges.
The add-on is easy to configure and lets the admin assign, remove, or delete badges. Multiple badges can be added and allocated to one or more vendors, and it integrates smoothly with CS-Cart Multi-Vendor.
Feature:
- Easy Configuration: Simple to configure and manage at the admin end.
- Badge Allocation: Option to assign the same badge to multiple vendors.
- Manual Management: Admin can remove, assign, or delete badges manually.
- Multiple Badges: Ability to add numerous badges from the admin panel.
- CS-Cart Integration: Well integrated with CS-Cart Multi-Vendor.
- Multiple Badges per Vendor: Option to allocate multiple badges to a single vendor.
Installation:-
How to install Addon
https://store.ecarter.co/blogs/how-to-install-addon/
Let's check how the addon works
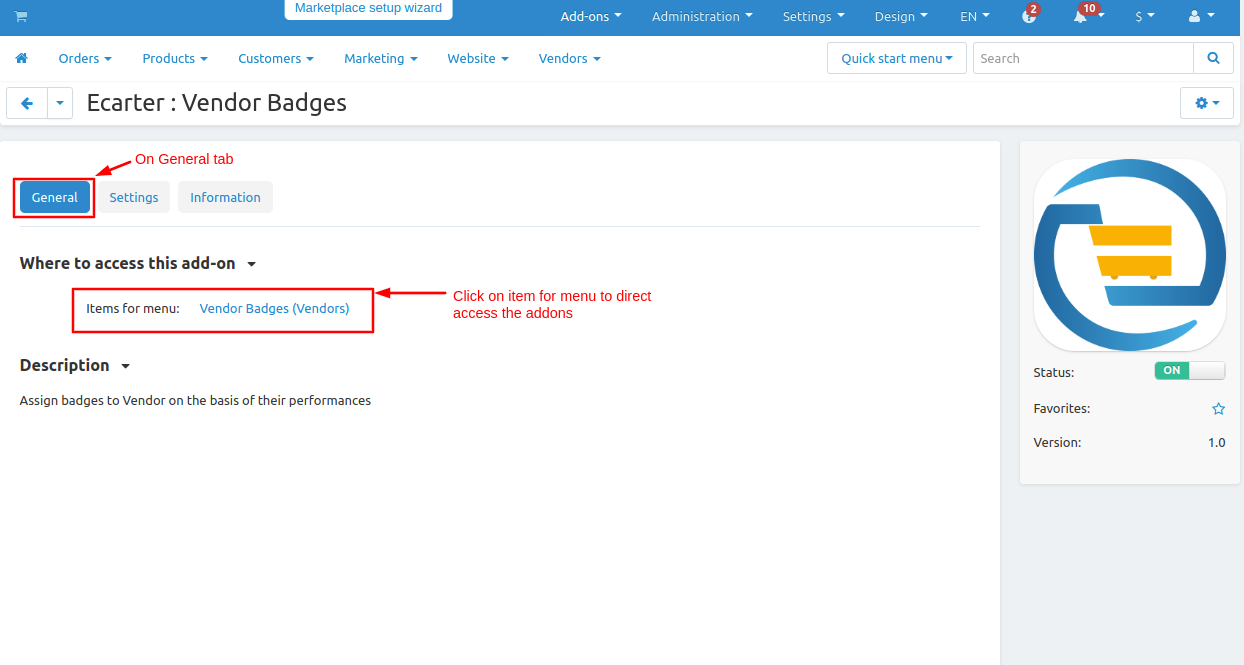
- To access the addon setting directly click on the item for the menu link vendor badge.
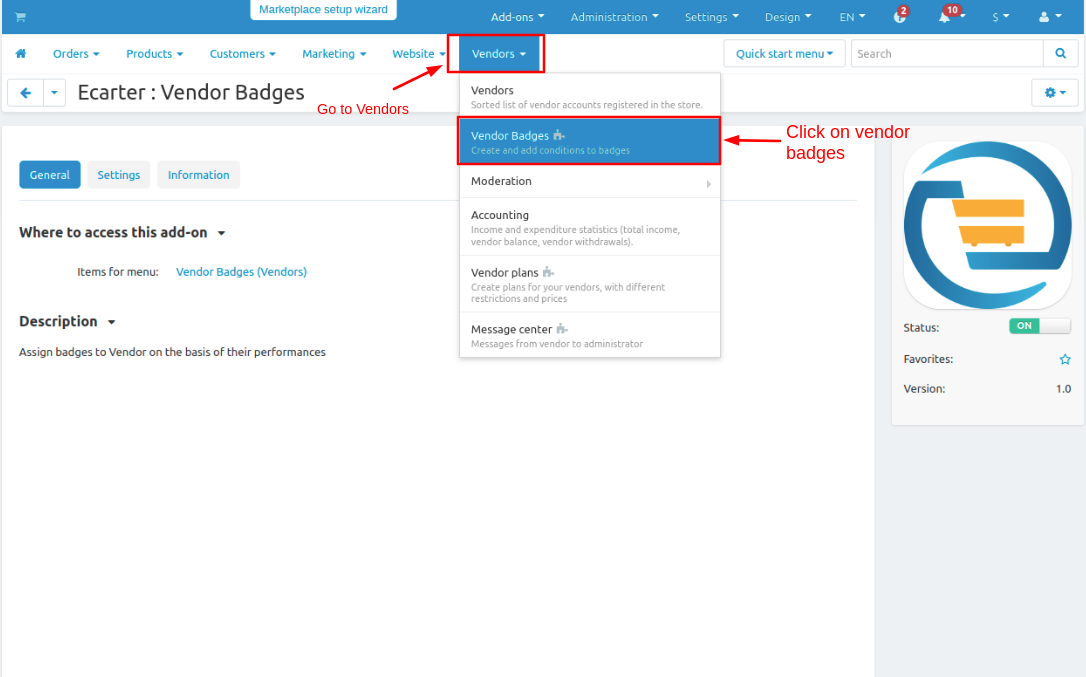
- Now Go to vendor drop down click on >> vendor badges.
There are some badges now see how to create a badge.
- Click on >> (+) icon.

- On the General tab fill the badge information.
- Like Badge name, upload badge image, set priority and write description.
- Then switch to Badge Condition tab.
- Tick the checkbox of auto enable so the badge is assign to vendor automatically.

- Now add conditions for the badge.
- Admin can set multiple conditions there are few conditions and criteria according to conditions.
- After that set the value for a condition then click on >> Add button.
- Now Click on >>Create button.

- The badge is created.

Now Set the block of the vendor badge so it will appear on the storefront.
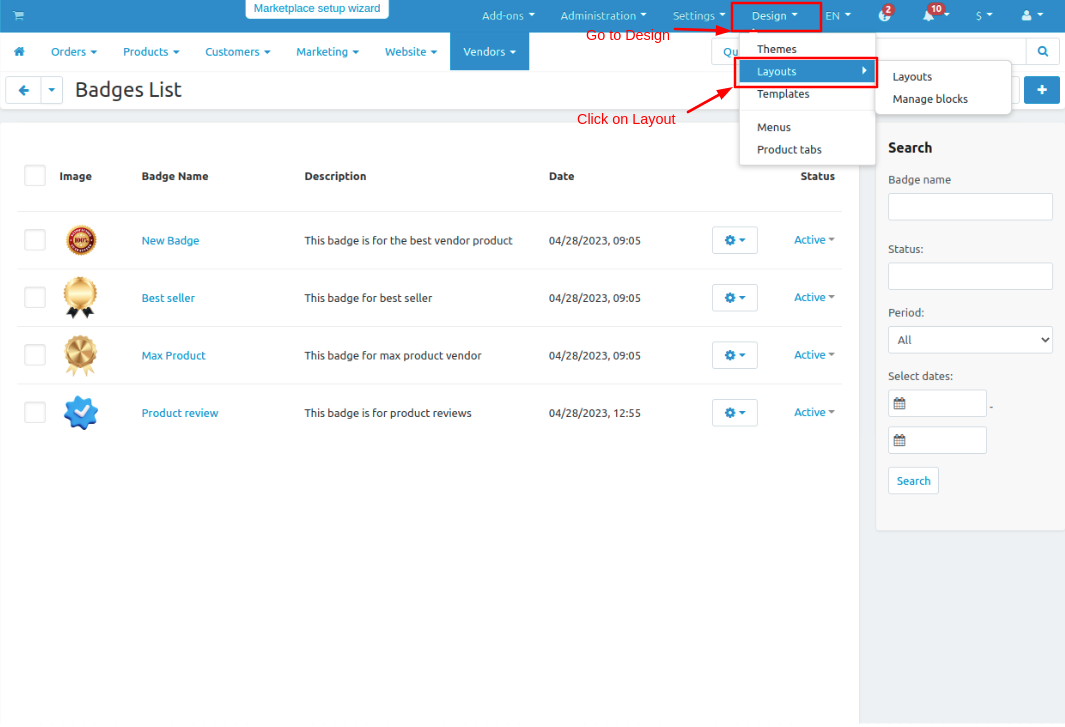
- Go to design drop down click on >> Layouts.
- Switch to vendor store tab on edit layout page.
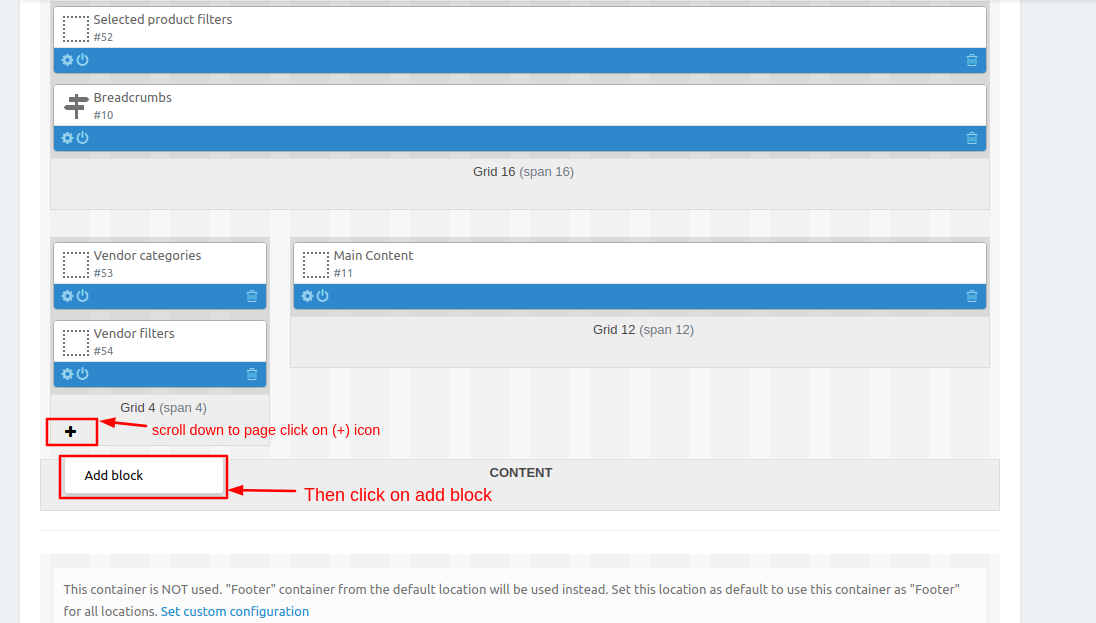
- Scroll down to the page click on >> (+) icon then click on >> Add block.
- Now switch to create new block tab.
- Then click on >> Vendor badge and open it.


- Give the Name of the block and then click on >> create button.

- Here you see the block is added.

Now we have to assign the badge to the vendor store.
- Go to addons and open the addon.
- On settings tab
- Click on >> Assign Badges button so the badge is assigned to the vendor which matches the condition of the badge.
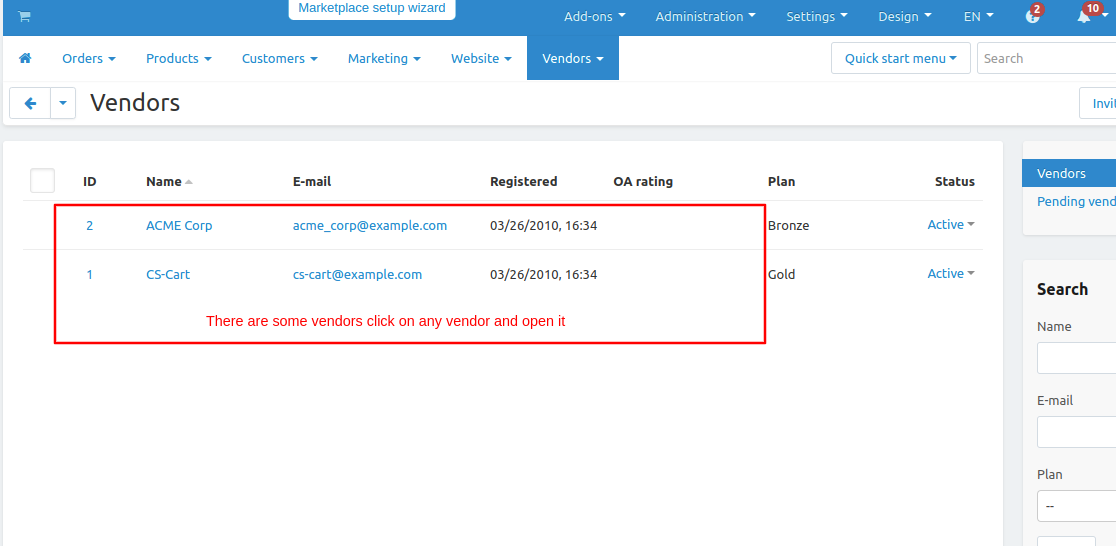
- To see which badge is assigned to the vendor go to the vendors drop-down and click on >> Vendors.
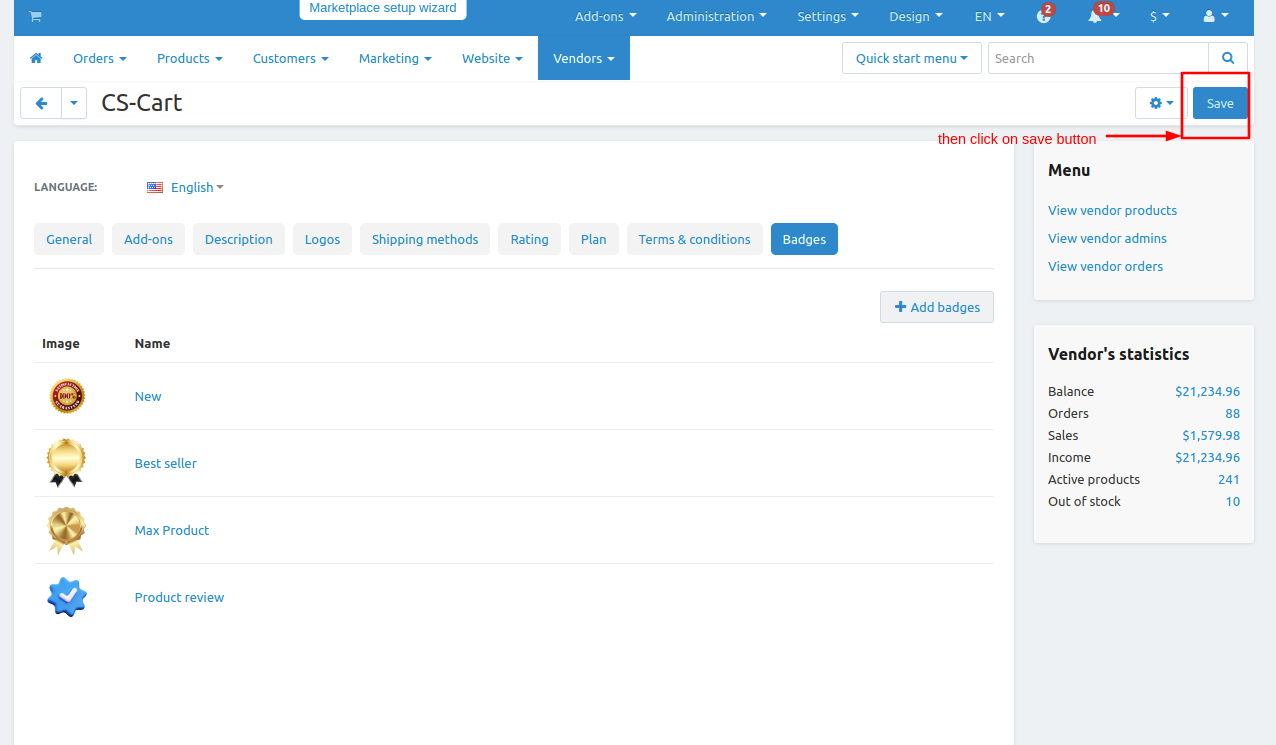
Here are some vendors open any vendor and tap on Badges tab. here you see the badge is assign to the vendor.


- From here you can manually add the badges for the vendor by just clicking on >> Add Badges button.
- Here you see the badges select the badge you want to add and then click on >> Add badge and close button.


- Here you see the badges are added.
Now let's see the badges are on storefronts.
open the storefront choose the vendor and open it.

- Here you see the badges are assigned to that vendor because the conditions are matches this vendor or the admin manually adds the badges to this vendor.

- Now open any product.
- Click on >> badge icon and here you see that the vendor has 4 badges assigned.

- Here you see the badges which are assigned to the vendor.
- If the user wants to see the badge description hover on (?) to see the description.

Addon-Version:
Version-1.0
Supported Versions:
CS-Cart, CS-Cart Multivendor 4.8.x, 4.9.x,4.10x,4.11x,4.12,4.13x, 4.14x, 4.15x, 4.16x, 4.17x, 4.18x
Support:
This app is developed and published by Ecarter Technologies Pvt. Ltd., a CS-Cart developer. You are guaranteed quality add-ons.